Similarly to the Act 8 location it is based on, the map has two levels - it begins on ground level, with an access to the top of the wall located at the end of the first level. The stairs leading to the boss arena can be found at the end.
The map has a very simple, linear layout which requires virtually no backtracking.
Encounters
Boss
Legius Garhall, based on Captain Arteri. He is accompanied by three unique Blackguards with no special abilities.
He also uses Leap Slam with no noticeable cooldown, which leaves burning ground each time he lands. He leaps even when attacking him from a short distance away, making staying right outside the burning ground the only way to attack him without being affected by the burning ground.
Her MaskHer Mask4Sacrifice FragmentTo her beauty you submit, lest your neck the great Queen slit.
23
HopeHope5Prismatic Ring CorruptedThe others succumbed to madness and depravity, but Lori fought on. Alone in the darkness, she could still see the dull light of hope's distant dawn.
68
Hunter's ResolveHunter's Resolve8BowPrimed, curved and sleek. Decisive and final. For malice and righteousness. There's but one solution.
The Tinkerer's TableThe Tinkerer's Table55x FossilTrying to bring your vision to life is enough to drive you mad.
33
The TraitorThe Traitor4Wand CorruptedSometimes an apprentice becomes a master through countless hours of hard work and practice. Sometimes it happens by force.
23
The TrialThe Trial7Map Map Tier:15 CorruptedYou cannot journey to new lands until you have the courage to leave the safety of home.
73
The ScoutThe Scout87x Exalted OrbThe first to travel are often rewarded for their journey, but all the treasure in the world cannot bring back those that are lost.
There are currently no unique items for this base item type.
Map variants
Item
Map Tier
Map Level
Map Series
Ramparts MapRamparts MapMap Level: 70 Map Tier: 3 Guild Character: ÜA wall is the surest sign for raiders that there is something of value to take.Travel to this Map by using it in a personal Map Device. Maps can only be used once.
3
70
Affliction
Ramparts MapRamparts MapMap Level: 76 Map Tier: 9 Guild Character: ÜA wall is the surest sign for raiders that there is something of value to take.Travel to this Map by using it in a personal Map Device. Maps can only be used once.
9
76
Crucible
Ramparts MapRamparts MapMap Level: 83 Map Tier: 16 Guild Character: ÜA wall is the surest sign for raiders that there is something of value to take.Travel to this Map by using it in a personal Map Device. Maps can only be used once.
16
83
Kalandra
Ramparts MapRamparts MapMap Level: 70 Map Tier: 3 Guild Character: ÜA wall is the surest sign for raiders that there is something of value to take.Travel to this Map by using it in a personal Map Device. Maps can only be used once.
3
70
Sentinel
Ramparts MapRamparts MapMap Level: 70 Map Tier: 3 Guild Character: ÜA wall is the surest sign for raiders that there is something of value to take.Travel to this Map by using it in a personal Map Device. Maps can only be used once.
3
70
Expedition
Ramparts MapRamparts MapMap Level: 71 Map Tier: 4 Guild Character: ÜA wall is the surest sign for raiders that there is something of value to take.Travel to this Map by using it in a personal Map Device. Maps can only be used once.
4
71
Ritual
Ramparts MapRamparts MapMap Level: 71 Map Tier: 4 Guild Character: ÜA wall is the surest sign for raiders that there is something of value to take.Travel to this Map by using it in a personal Map Device. Maps can only be used once.
4
71
Heist
Ramparts MapRamparts MapMap Level: 70 Map Tier: 3 Guild Character: ÜA wall is the surest sign for raiders that there is something of value to take.Travel to this Map by using it in a personal Map Device. Maps can only be used once.
3
70
Harvest
Ramparts MapRamparts MapMap Level: 69 Map Tier: 2 Guild Character: ÜA wall is the surest sign for raiders that there is something of value to take.Travel to this Map by using it in a personal Map Device. Maps can only be used once.
2
69
Delirium
Ramparts MapRamparts MapMap Level: 69 Map Tier: 2 Guild Character: ÜA wall is the surest sign for raiders that there is something of value to take.Travel to this Map by using it in a personal Map Device. Maps can only be used once.
2
69
Metamorph
Ramparts MapRamparts MapMap Level: 70 Map Tier: 3 Guild Character: ÜA wall is the surest sign for raiders that there is something of value to take.Travel to this Map by using it in a personal Map Device. Maps can only be used once.
3
70
Blight
Ramparts MapRamparts MapMap Level: 72 Map Tier: 5 Guild Character: ÜA wall is the surest sign for raiders that there is something of value to take.Travel to this Map by using it in the Templar Laboratory or a personal Map Device. Maps can only be used once.
5
72
Legion
Ramparts MapRamparts MapMap Level: 69 Map Tier: 2 Guild Character: ÜA wall is the surest sign for raiders that there is something of value to take.Travel to this Map by using it in the Templar Laboratory or a personal Map Device. Maps can only be used once.
2
69
Synthesis
Ramparts MapRamparts MapMap Level: 68 Map Tier: 1 Guild Character: ÜA wall is the surest sign for raiders that there is something of value to take.Travel to this Map by using it in the Templar Laboratory or a personal Map Device. Maps can only be used once.
1
68
Betrayal
Ramparts MapRamparts MapMap Level: 74 Map Tier: 7 Guild Character: ÜTravel to this Map by using it in the Templar Laboratory or a personal Map Device. Maps can only be used once.
7
74
War for the Atlas
Ramparts MapRamparts MapMap Level: 73 Map Tier: 6 Guild Character: lTravel to this Map by using it in the Templar Laboratory or a personal Map Device. Maps can only be used once.
6
73
Atlas of Worlds
Shaped Ramparts MapShaped Ramparts MapMap Level: 78 Map Tier: 11 Guild Character: lTravel to this Map by using it in the Templar Laboratory or a personal Map Device. Maps can only be used once.
The entire Atlas has been reworked. Many map names have changed, as have their balance, tier and position on the Atlas. Many maps have also had their boss fights swapped or completely reworked.
The rules used to generate monsters in endgame maps have been significantly reworked and rebalanced around the rate at which we expect players to reliably clear out the map. In general, narrow, linear maps will contain fewer total monsters than maps with complex layouts. We will be closely monitoring and adjusting the balance of this change and expect to make further changes and improvements over time.
 Her Mask
 4Sacrifice FragmentTo her beauty you submit,
 Hope
Hope 5Prismatic Ring
 Hunter's Resolve
 8BowPrimed, curved and sleek.
 Left to Fate
 4Map
4Map Lingering Remnants
 16
16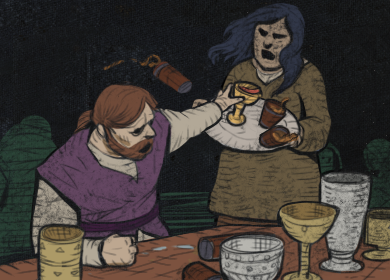 The Drunken Aristocrat
 8
8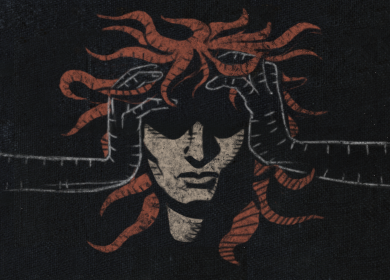 The Encroaching Darkness
 8Map
8Map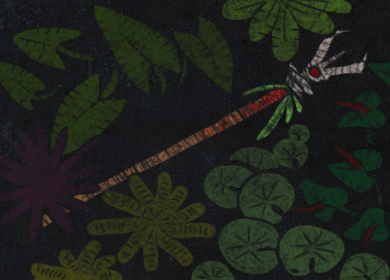 The Flora's Gift
 5Five-Link Staff
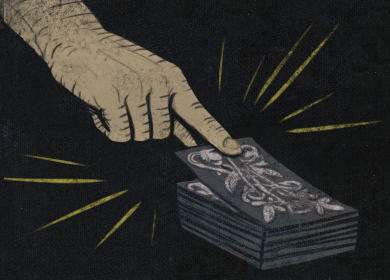 The Gambler
 5Divination Card"I don't believe in karma. If it were real, I would never win."
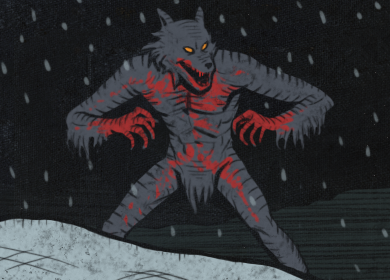 The Pack Leader
 6
6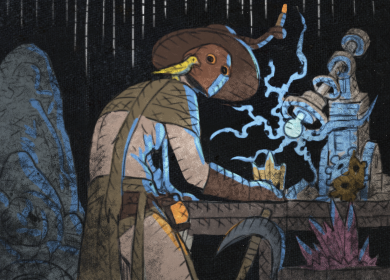 The Tinkerer's Table
 55x FossilTrying to bring your vision to life is enough to drive you mad.
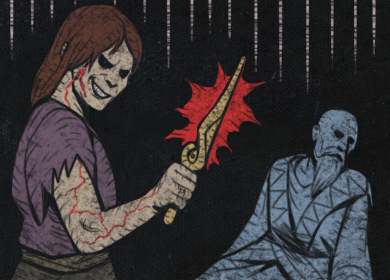 The Traitor
 4Wand
4Wand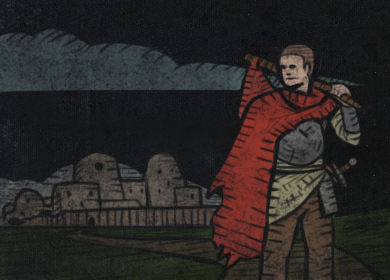 The Trial
 7Map
7Map The Scout
 87x
87x  Alivia's Grace
 6
6